Creating A Simple Item - Sword
Creating A Simple Item - Sword(This was written for DS1 but will apply to the other games as well) Making a simple item helps to understand the bare neccessities for more complex ones. Open up any text editor that you want (notepad is fine) and create a new file. Follow these steps to create a simple sword using the template (template 1) below as a reference model: 1. Create a template header in the format of [t:template,n:TEMPLATE_NAME] : Replace TEMPLATE_NAME with a unique name of your own. This is used by the game to uniquely identify your item, but is never seen by the normal user. 2. Each new [] tag must be enclosed by a set of braces { } to begin and end each block, so keep that in mind throughout your creation. 3. You'll now want to specificy the doc tag in the format of doc= "TEXT"; : Replace TEXT with any name you wish, it is not the name of your item and will never be seen except by those using the Siege Editor choosing to look at documentation over names. 4. Notice that after each line except those with { } or [] in them, there is always a semi-colon ;. Your item will not compile right if you forget one. 5. All your items will need some type of base specialization in the format of specializes = SPEC : Replace SPEC with a template name of your choice. In our case we would use base_sword and a complete list of commonly used ones will be available in a later section. 6. Moving to the first inside tag of the item, it is aspect. Here we will deal with things like mesh specification, values, textures, etc. It is specified by the [aspect] tag always. 7. Inside the aspect tag are assignments just as before. In our case we will be using only model = MESH_NAME : Here you would replace MESH_NAME with one of the known in-game meshes. A list will be available in a later section, but for now use m_w_swd_055, which is the Dragon Wing sword mesh. 8. Common to all weapons is the attack tag. It is always specified by [attack] 9. Inside the attack tag you can specify the minimum and maximum amount of damage of the weapon, using f damage_max = DAM and f damage_min = DAM : Replace DAM the amount you wish the sword to do. 10. Next is the common tag which is always specified as [common]. It includes a few details, but is mostly used for naming the item. 11. Inside the common tag you will need to specify the screen_name = "NAME" of your item. This is the name that shows up to the user in game. : Replace NAME with any name you wish, it does not have to be unique to the item also. 12. The most visually important tag is the gui one, which is specified by [gui]. It containts all the information about displaying the object other than on the actual character model. 13. You must specify an active_icon = NAME; This is the small icon that appears beside a characters portrait on the screen when the weapon is equipped. : Replace NAME with the picture b_gui_ig_i_ic_swd_005, which again is the default for the Dragon Wing sword. A detailed list of those available will be given later. 14. Now the requriements to equip your weapon are in the form of equip_requirements = TYPE:VALUE; : Replace TYPE with the attribute (strength, dexterity, intelligence) and VALUE with the amount to require. You can also require multiple attributes by seperating each with a , as I've done below. 15. The inventory_height = VALUE; and inventory_width = VALUE; are very important attributes that set how much inventory space your item will take up. It is best to use a general guess value and then change it if needed later. : Replace VALUE in both cases as needed. Setting to a low value does not resize the icon for the inventory and creates wierd looking results. In this case, I know the Dragon Wing icon of the sword is 4 x 1 already, so use it. 16. Lastly, an inventory icon needs to be specified in the form of inventory_icon = GRAPHIC;. This is the actual icon for your inventory and equip slot that shows up. : Replace GRAPHIC with the name of the inventory graphic. In our case use b_gui_ig_i_w_swd_088 which is the one for the Dragon Wing sword. A list will be available in a later section. 17. You have now completed the code for a very simple sword that the game uses. You'll need to save it as a .gas file in your items directory you created in Part 1 of the tutorial (Figure 1). It must be in this directory and saved with a .gas extension. The name of the file otherwise is unimportant, but should be unique. 18. The last step is to tank the directory. Go here for instructions: Handling tanks and resource directories. [t:template,n:nivisec_simple_sword]
{
doc = "Dragon Lords Sword";
specializes = base_sword;
[aspect]
{
model = m_w_swd_055;
}
[attack]
{
f damage_max = 407;
f damage_min = 307;
}
[common]
{
screen_name = "Steel of the Dragon Lords";
}
[gui]
{
active_icon = b_gui_ig_i_ic_swd_005;
equip_requirements = strength:30, dexterity:45;
inventory_height = 4;
inventory_width = 1;
inventory_icon = b_gui_ig_i_w_swd_088;
}
}template 1 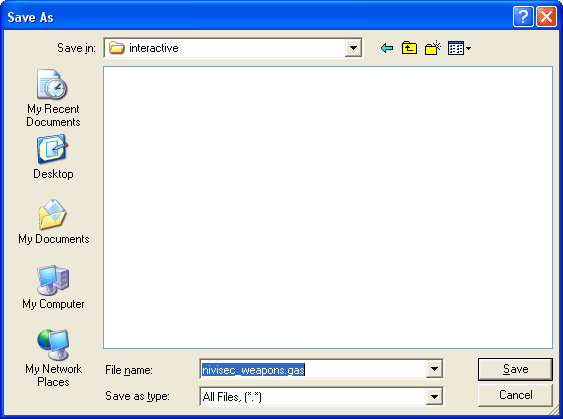 figure 1 (the original text for this tutorial was written by Nivisec, and is published with permission) |
||